Looking for fun and affordable ways to keep the kids busy over the holidays? Read on for five fun, easy and eco-friendly craft ideas that will inspire imaginations and keep those tiny hands busy!
Mini golf
What you need
1 x large cardboard box
Scissors
Coloured markers or paint
Golf balls (or similar)
Putter or kid’s golf clubs
Paper and pen for keeping score
A prize for the winner
Method
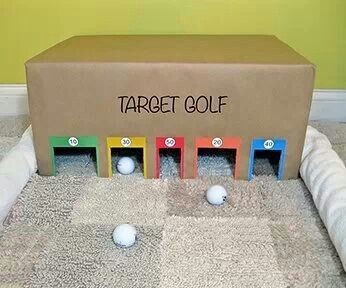
This is a great activity for rainy days or fun in the backyard. Cut rectangular holes in the top of the box and turn it upside-down. An adult should do this if the children are small. Colour around each rectangle using your markers and assign a number to each one. Take turns hitting the ball with the putter into the windows. Each window has a different number and the winner is the first to make it to 1000 points- you’ll be surprised at how much they will suddenly enjoy doing maths!
Magic garden chimes
What you need
1–3 odd-shaped sticks (smooth is best)
String or fishing line.
Jewels, shells, small stones, feathers, bells or old keys
Method
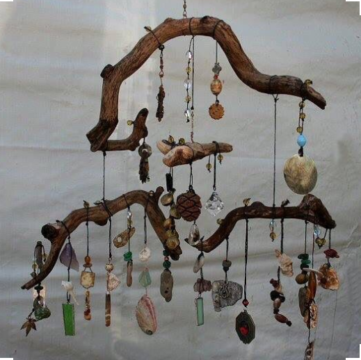
This craft activity encourages exploration and imaginative play. There is no ‘right’ or ‘wrong’ way to do this, so let their imaginations run free! Start by selecting a few sticks, preferably with smooth edges for little hands. Attach the two smaller sticks to the larger one (like pictured) using your string or fishing line, then it’s time to get creative. Explore the garden for feathers, seed pods or little stones. You can also use shells, wooden beads, jewellery charms, bells – even old keys. Once they have a good amount of ‘jewels’ to play with, hang them from the stick mobile using leftover string or line. The beauty of this activity is you can make it as simple, (or elaborate!), as you like. Hang it in the bedroom, or in the garden as a decorative wind chime.
Funny face bowling
What you need
10–12 x tin cans or containers
Paint
Balls
Funny face stickers (optional)
Method
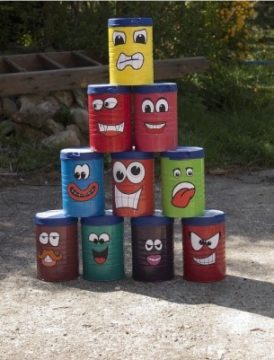
This is another winning activity for all weather and ages. It’s great for developing hand-eye-coordination and, if you decide to keep score, practising their counting. Half the fun is decorating the cans, so once you have carefully removed the outside layer (you can use small milo tins) they can get to work painting. Once the tins have been painted a rainbow of colours, leave them to dry before gluing on eyes, or use stickers to make funny faces. Once they have created the characters, stack them into a pyramid and let the games begin! The aim of the game is to knock them all over with each throw. The kids will love aiming for their silly faces and watching them scatter everywhere.
DYI bird feeder
What you need
1 x Paper towel or toilet roll
Twigs
Brown string or strong twine
Peanut butter
Bird seed
Method
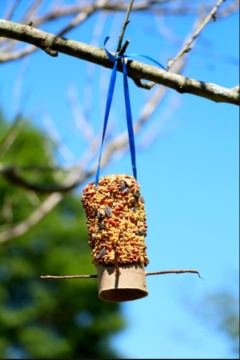
This is an excellent activity because the fun continues long after you finish! Poke four holes in the bottom of your cardboard roll, and two in the top, at least 1.5 centimetres from the edge so it’s sturdy. Smear the roll thick with peanut butter, leaving some space around the holes. Sprinkle the bird seed onto a large plate and roll your peanut butter cardboard through it so it sticks. Thread your twigs through the bottom holes so they poke out and give the birds a little platform to stand on. Thread your twine through the top hole and tie it securely. Now it’s ready to hang in a tree and wait for the birds to arrive. This can be turned into a drawing or photography activity to learn more about bird species and their different features. Make sure you hang the feeder high enough that the birds don’t get caught by a hungry cat!
Make your own playdough
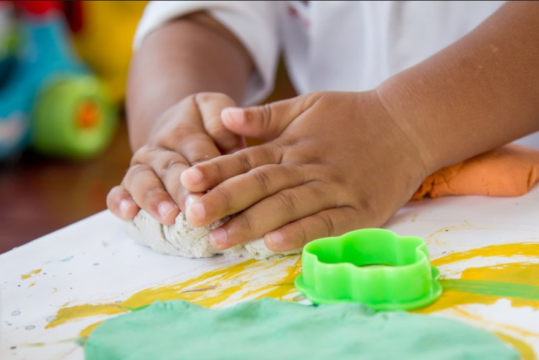
What you need
1 cup flour
¼ cup salt
½ cup water
3–5 drops food colouring
Method
Everyone loves playdough – even adults! There are plenty of brands on the market, but nothing quite beats making your own. This is a great fun and educational activity for creative minds. Store the playdough in separate containers for a longer life. Mix together the flour and salt and separate into bowls depending on how many colours you want to make. Divide up the water as well and add in your coloured drops. Experiment with the pigments and see what you come up with by mixing different colours! Pour the coloured water into the bowls of dry mixture, stirring as you pour. Knead until combined, if it’s still too sticky just add more flour.